Columbus
Come see us at the Missoula Farmers Market every Saturday 8-12:30!
534 N Higgins Ave, Missoula, MT 59802
Your Gluten-Free Sourdough Starter Guide
Everything you need to get started
Before We Get Started
What You'll Need
starter
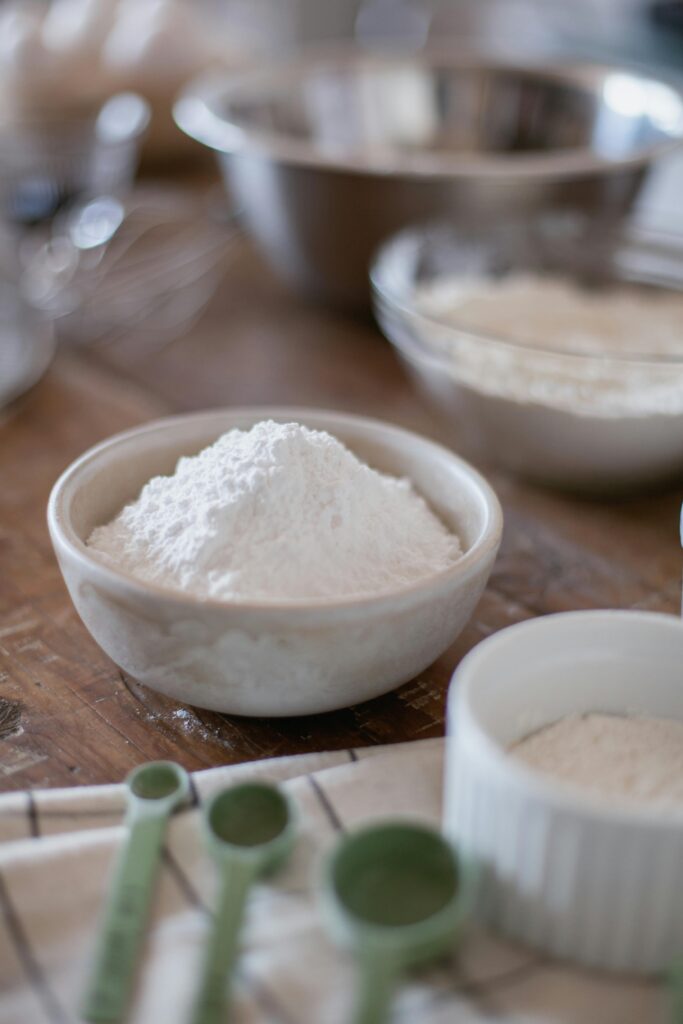
- Brown rice flour
- A clean glass jar
- Kitchen scale (highly recommended for accuracy)
- Filtered water
- Apple Peel (optional)
Important Notes Before We Begin:
- Cleanliness is Key: Ensure your jar is thoroughly cleaned and sanitized. Every time you feed your starter, scrape down the sides of the jar to prevent mold growth.
- Breathable Cover: I prefer to cover my jar with a paper towel secured by the jar ring, but any loose cover that allows airflow will work.
- Discard Wisely: Avoid using the discard from the first seven days of your sourdough journey. During this initial period, it can harbor unwanted bacteria.
The Starter Journey: Step-by-Step
Detailed numbered instructions for each day (Day 1 to Day 8)
starter
Day 1: The Foundation
- Combine 1/8 cup (20g) of brown rice flour and 1/8 cup (20g) of water in your jar.
- Mix thoroughly until you achieve a smooth paste.
- Optional: For a faster fermentation process, add a peel from an organic apple.
Day 2: Nurturing the Culture
- Add another 1/8 cup (20g) of brown rice flour and 1/8 cup (20g) of water to your starter.
- Mix until smooth, ensuring all ingredients are well incorporated.
Day 3: Signs of Life
- Increase the feeding: Add 1/4 cup (40g) of brown rice flour and 1/4 cup (40g) of water.
- Mix until smooth.
- You should start to notice increased activity: more bubbles and a pleasantly sour aroma.
Day 4: Refining the Culture
- If you added an apple peel, remove it now.
- Transfer 40g of your starter to a fresh jar.
- Feed it with 1/4 cup (40g) of brown rice flour and 1/4 cup (40g) of water (a 1:1:1 feeding ratio).
Day 5 & 6: Rest and Fermentation
- Leave your starter undisturbed at room temperature or in a warm place to ferment.
starter
Day 7: Consistent Feeding
- Give it a good stir.
- Transfer 40g to a new jar and repeat the 1:1:1 feeding ratio from Day 4.
- Within 6-12 hours at room temperature, your starter should be bubbling and growing.
STOP: Testing for Activity
- If your starter is smelling sour, producing lots of bubbles, and growing when you feed it, proceed to the next step. If not, repeat day 7 until you have an active starter.
Day 8: Ready to Bake!
- Your sourdough starter should now be active and ready for baking.
- 8-10 hours before you plan to bake, remove your starter from the fridge.
- Discard all but 20 grams.
- Feed it 40 grams of brown rice flour and 40 grams of water.
- Let it rise until active and bubbly.
Moving Forward
- After using the starter it can now be stored in the fridge for up to a week at a tie, just make sure to feed it (1:2:2) when you take it out to use it and before you put it in the fridge (1:2:2)
FAQs - Some Extra Details
Why is my sourdough starter producing water on top?
This is called hooch! It means your sourdough is hungry- give it a stir and feed it!
My starter is moldy- what do I do?
This is time to throw it out- make sure you scrape the sides better next time.
My starter isn't bubbly- how can i fix it?
Repeat day 7 until it is active . If you are having a really tough time, you can try the apple peel trick mentioned in day 1.
What feeding ratio do I use moving forward?
I use a 1 part starter, 2 part brown rice flour, 2 part water ratio but play around with it and find what works for you.