This recipe is available at the Missoula Farmers Market.
The Ultimate Guide to Gluten-Free Sourdough
Everything You Need to Know to Master Gluten-Free Sourdough Baking
Discover the secrets behind creating perfect gluten-free sourdough—from understanding what makes it unique, to following our step-by-step process, and learning how to maintain an active starter. Whether you’re a seasoned baker or just beginning your gluten-free journey, this guide is your roadmap to success.
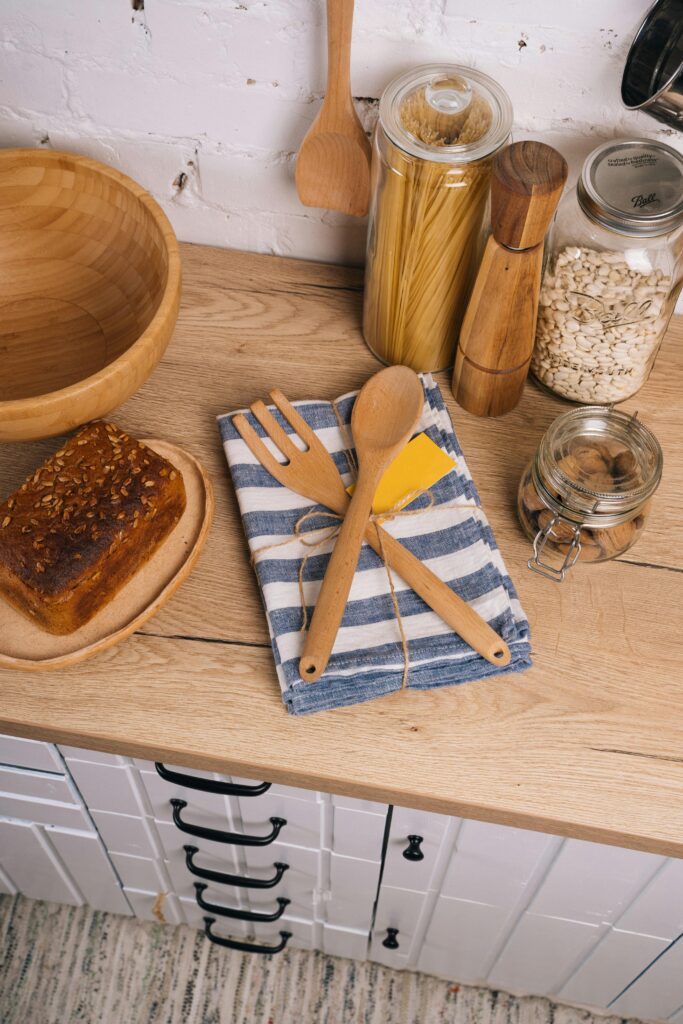
Sourdough Tools
What do you actually need?
So often on social media we see people trying to sell us just one more thing. For sourdough, what do we actually need to be successful.
In short, very little. Before the commercial production of yeast in the late 19th and early 20th century, sourdough bread was the norm. In short, it is a wild yeast culture that prefers to eat what it was started on. That is what makes it so great for gluten free baking.
So many creators and recipe developers over complicate the simple nature of sourdough. With it being gluten free, we do need a little more tweaking and maneuvering to get it to be the correct consistency but at the core it is just simple ingredients and a simple (albiet slow) process.
I keep my sourdough starter in a wide mouth Mason jar. At any point I have about 100g of starter in the jar and it lives in my fridge. I use my kitchen aid mixer that I got second hand years ago. Recenlt, I have upgraded to a banneton for fermentation but you could easily use a large bowl.
What Sets Gluten-Free Sourdough Apart?
The Science & Art Behind Gluten-Free Bread
- Ingredients: Gluten-free sourdough uses alternative flours (e.g., brown rice, sorghum, millet) that create a different texture and flavor profile compared to wheat.
- Fermentation: The fermentation process is slower and requires careful management to develop the signature tang and crumb structure.
- Handling: Because gluten is absent, hydration and mixing techniques must be adjusted to ensure proper dough consistency.

Your Step-by-Step Guide to Baking Gluten-Free Sourdough
Follow These Simple Steps for Artisan Quality Bread
This is for a detailed description for a simple white sourdough loaf, for more ideas, head to the sourdough page.
Start on the evening 3 days before you would like to be baking. For example, if you’d like to bake on a Sunday, start on Friday.
Take your starter out of the fridge. Discard all but 20 grams. Feed your starter 40 grams of brown rice flour and 40 grams of water. Mix well and set it in a warm place where it won’t be bumped or disturbed overnight.
Approximately 8 hours later, use your active starter to create your levain. Each recipe will have a different levain but for this recipe we are going to keep it simple. Take the following ratio and mix it together.
75g active starter
150g water
76g brown rice flour
45g millet flour
30g sorghum flour
Feed your starter before putting it back in the fridge. For the levain, mix it up and set it somewhere warm that it won’t be bumped for 8 hours.
When your levain looks active and bubbly through your jar, you can use it to finally make your dough. This will be about 16-20 hours after you take the starter out of the fridge to begin with.
What does "active" mean?
Active is when your starter is bubbly and smells yeasty. It is considered active when it is at the peak of its rise.
What is a levain?
A levain is a crucial pre-ferment in sourdough baking, created by taking a portion of your existing sourdough starter and feeding it with fresh flour and water to build a larger, highly active leaven for a specific bake. This “building up” process serves multiple purposes: it allows you to increase the volume of active leaven if your starter alone isn’t sufficient for the recipe, it provides an opportunity to fine-tune the flavor profile of your bread by adjusting flour types and hydration, and it ensures peak leavening power as a freshly built levain is typically at its most vigorous, guaranteeing a strong rise in your dough.
Start with the psyllium husk, it should have about 10 minutes to sit after you mix it together. It will turn into a thick gel very quick. I like to mix mine with a fork as it gets stuck in the whisk. Mix the following:
27g psyllium husk powder
428g water
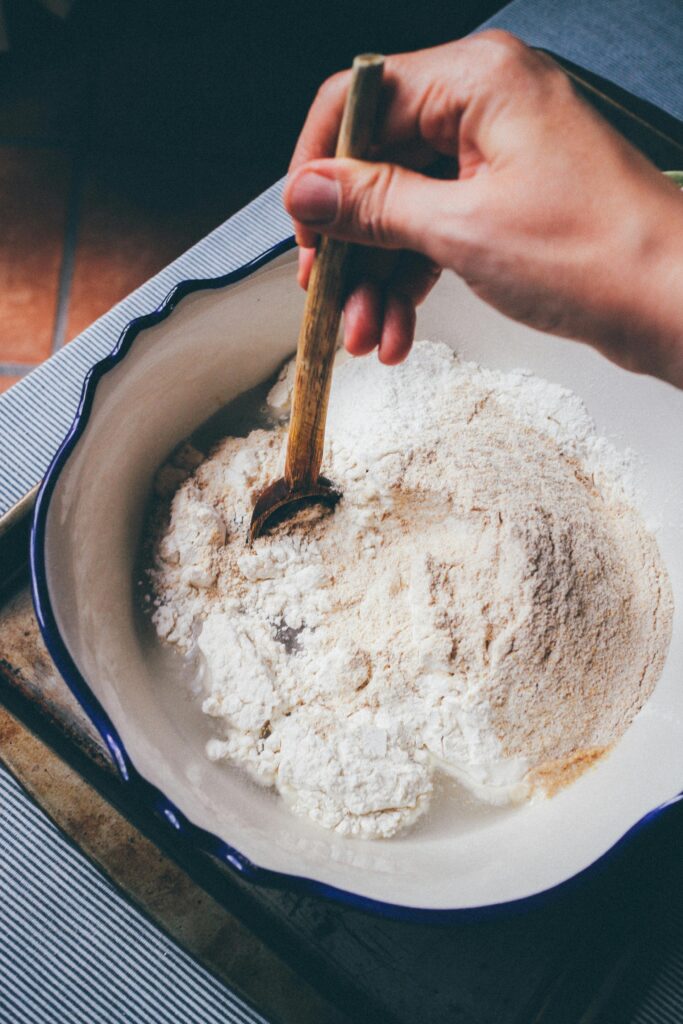
While that is setting up, mix your flours together. I like to use a small measuring cup with a bowl on my scale that is zeroed out. When I get the correct amount of flour, it gets put into the mixing bowl. Mix the following flours together:
90g brown rice flour
60g millet flour
30g sorghum flour
90g potato starch
90g tapioca starch
13g sea salt
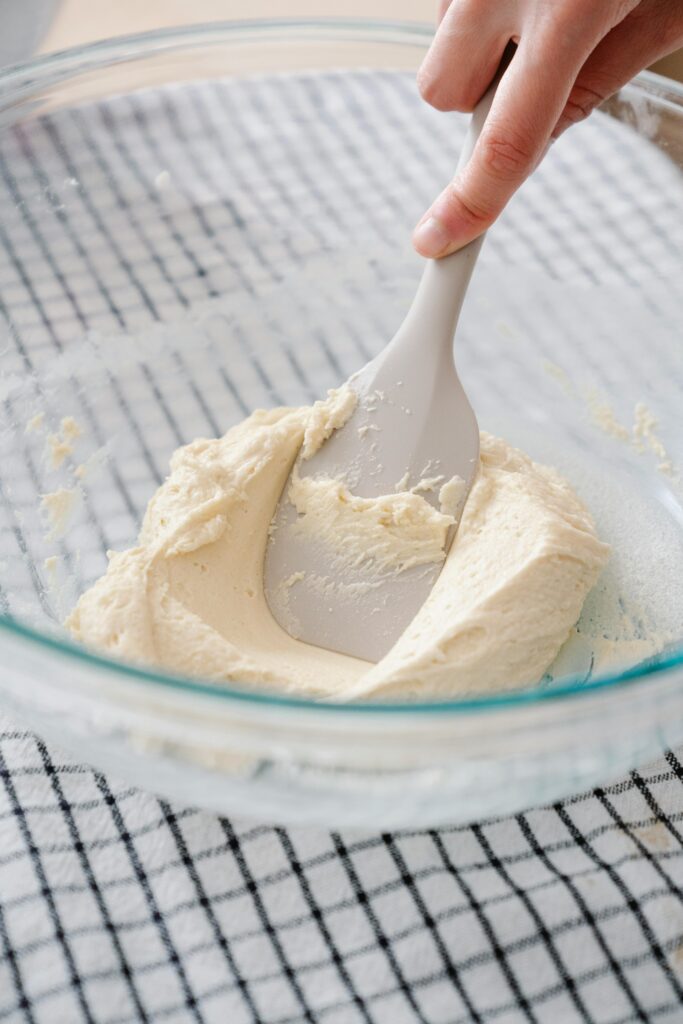
Once all of the flour is mixed together, put your levain and psyllium mixture into the flour and put it on low on your mixer. Because it is gluten-free you can’t under do it or over do it, there isn’t any gluten strands to over develop or under develop. I usually let mine mix for about 5-7 minutes.
Once turned into a dough, put it into a container and cover with a wet towel. Leave the loaf in the fridge overnight (approximately 10 hours)
What is psyllium husk powder?
Psyllium husk powder is part of a crushed plant. It turns into a thick gel consistency when hydrated. It is an excellent binder that adds elasticity back into gluten free baked goods. Compared to xanthan gum, psyllium husk powder is easier to digest and more effective in some cases. Please note that psyllium husk and psyllium husk powder are different things and the powder hydrates much better than the whole psyllium husk. Also, there are some types of psyllium husk powder that will turn your bread purple. I have the kind I use linked in my Amazon storefront, but if your bread comes out a weird color, the psyllium husk powder is likely the culprit.
Fermentation Time Gluten-Free
Fermentation times for gluten-free sourdough are notably longer compared to traditional wheat-based sourdough. Due to the absence of gluten, which forms a strong network to trap gases, gluten-free doughs require extended fermentation to develop sufficient structure and flavor. A total fermentation time of approximately 16 hours is common. I often employ a two-stage fermentation process: an overnight (8-12 hours) cold fermentation in the refrigerator primarily for flavor development, followed by a 6-8 hour warm fermentation at room temperature (around 70°F) to enhance texture and leavening. The cold fermentation slows down yeast activity, allowing for the development of complex flavors without over-proofing. The subsequent warm fermentation allows the yeast to become more active, producing the necessary rise and airy crumb.
It’s crucial to monitor the dough closely during the warm fermentation, as gluten-free dough can over-proof quickly. Signs of readiness include visible bubbles, a slight increase in volume, and a delicate, tangy aroma. Remember that fermentation times can vary based on ambient temperature, starter activity, and the specific gluten-free flour blend used. Adjustments may be necessary to achieve optimal results.
About 10 hours later, pull the dough out of the fridge. I like to do this as soon as I wake up in the morning. For your first loaf, I would reccomend letting it ferment on your counter for about 8 hours. However, you can put it in the oven with just the light on and it will go faster at about 5-6 hours.
You will know it is fermented and risen enough when it feels carbonated when you press on the dough. You should feel air bubbles kind of like in a hot tub that has jets.
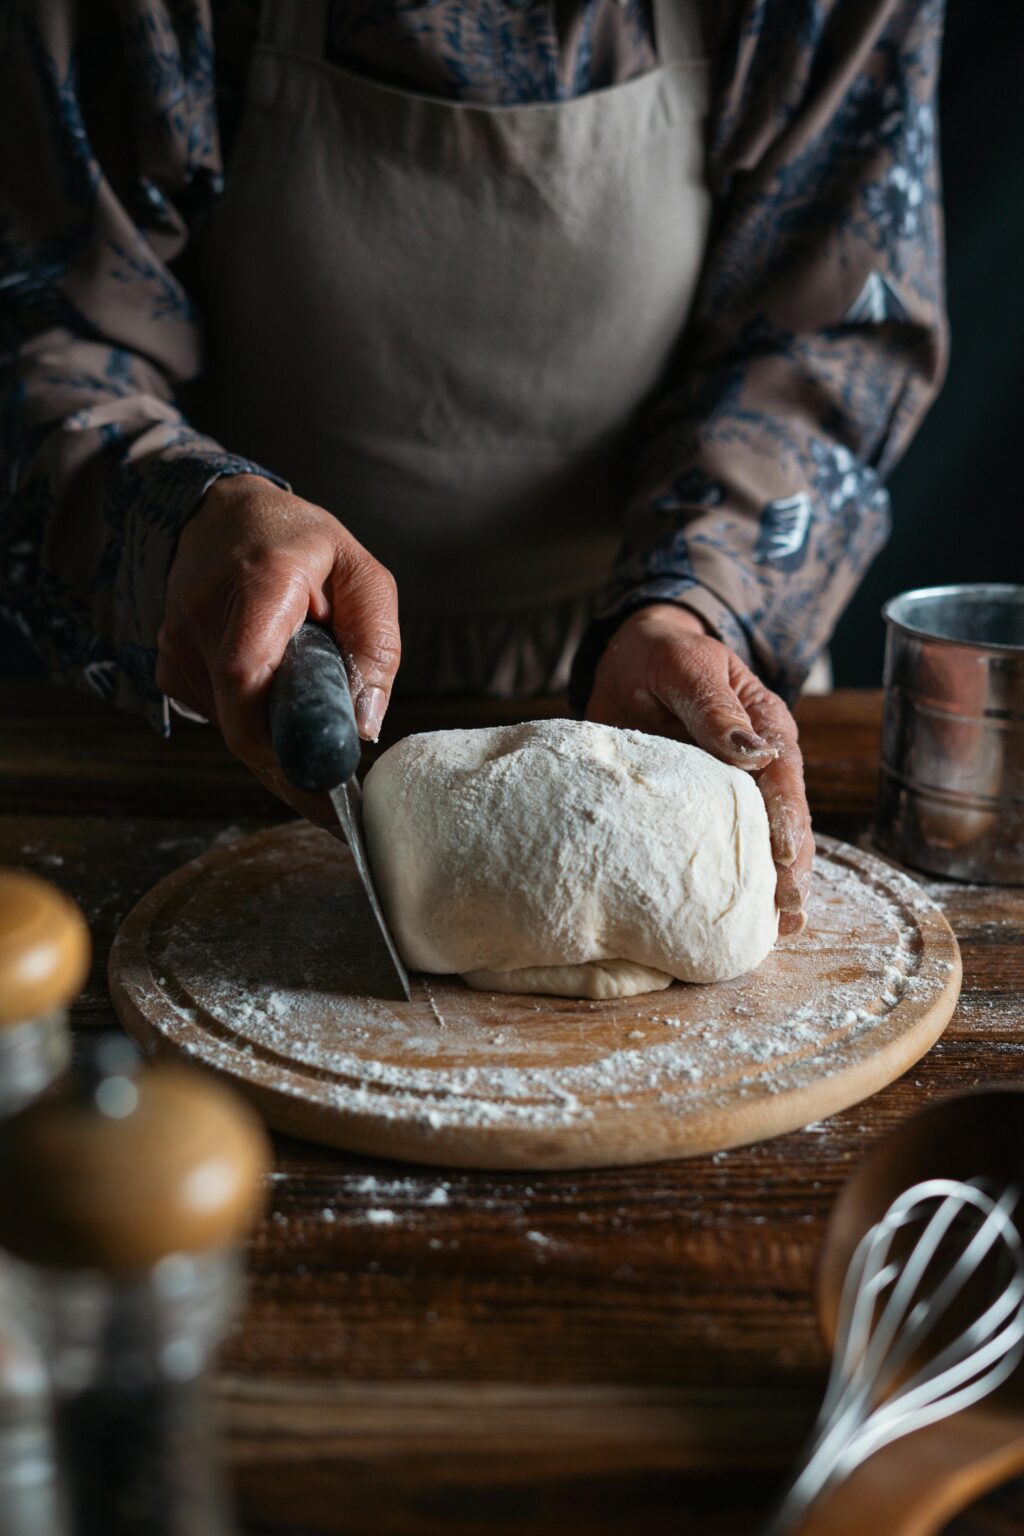
At this point, turn your oven on to 430 with your dutch oven in it. Once preheated, shape your loaf, score, and put it in your dutch oven. Cook for 25 minutes with the lid on, and 45 with the lid off.
What if I don't have a dutch oven?
While a Dutch oven is a fantastic tool for sourdough baking, it’s absolutely not essential. If you plan to bake sourdough regularly, a Dutch oven is a worthwhile investment due to its ability to trap steam and create consistent oven spring. However, if you don’t have one, you can still achieve excellent results by creating steam in your oven. Place an additional oven-safe tray on the bottom rack and fill it with boiling water during preheating. The steam generated will mimic the environment inside a Dutch oven, promoting a good rise and a crisp crust. For even better results, consider using a baking stone or steel along with the steam tray to distribute heat evenly. You can also spritz the inside of your oven with water immediately after loading the dough to add an extra burst of steam. Remember that without the enclosed environment of a Dutch oven, you may need to adjust baking times slightly, and achieving a perfectly round loaf might be more challenging.
Oven temperatures and what they do.
Sourdough loaves benefit from a two-stage baking process: a high initial temperature (e.g., 435°F) initiates rapid oven spring and crust formation, while a subsequent lower temperature (e.g., 400°F) ensures even baking and crumb development. The initial high heat triggers yeast activity and crust caramelization, setting a barrier for trapped steam, crucial for a light crumb. The longer bake at a lower temperature allows the interior to fully cook without burning the crust, resulting in a tender, chewy texture. Baking times vary based on loaf size, hydration, and oven variations, but the general principle remains: high heat for initial expansion, followed by lower heat for thorough cooking.
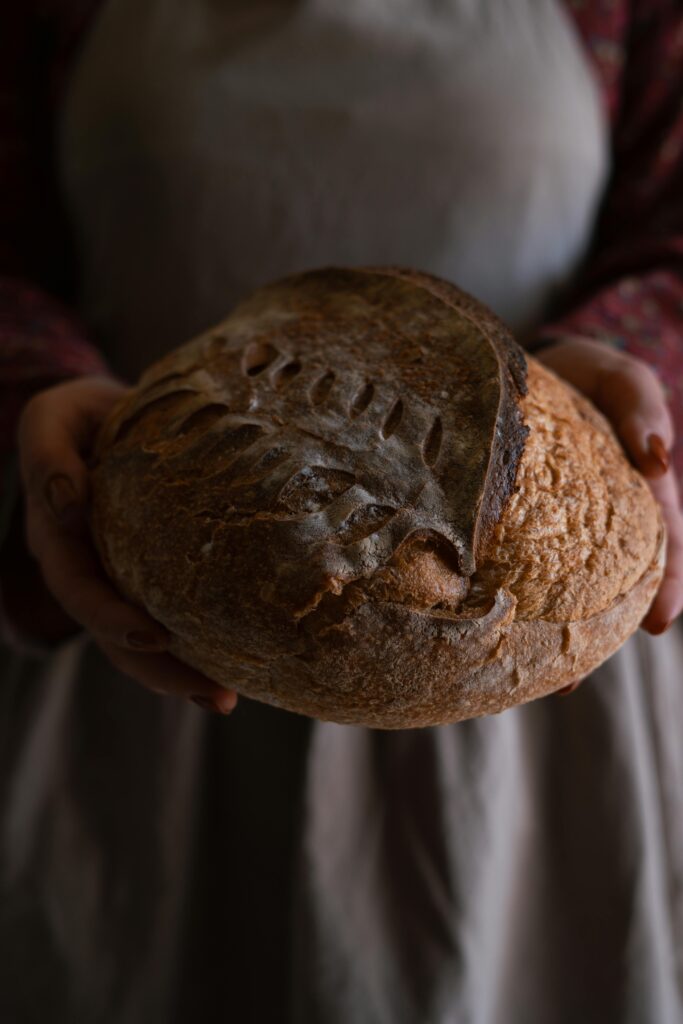
What does shape and score mean?
Shaping and scoring are crucial steps in sourdough baking that directly impact the final loaf’s appearance and texture. Shaping creates tension on the dough’s surface, forming a tight, smooth exterior that allows for optimal oven spring and a well-defined shape. Proper shaping helps the loaf hold its structure as it rises and bakes. Scoring, the act of making shallow cuts on the dough’s surface just before baking, serves several purposes. It controls the direction of the loaf’s expansion, preventing it from bursting at weak points. Scoring also allows for artistic expression, creating beautiful patterns on the crust. Additionally, the cuts help release steam during baking, contributing to a crisp crust and even crumb development. Without proper shaping, the loaf may spread out rather than rise, and without scoring, it may burst unpredictably, leading to an uneven and less aesthetically pleasing loaf.
Ready to Bake Your Own Gluten-Free Sourdough?
Embrace the art of gluten-free baking with our expert guide and tips.
We hope this guide has inspired you to dive into the world of gluten-free sourdough. For more recipes, tips, and exclusive bakery insights, explore our blog or join our community.